Happy Sunday, friends! I’m gearing up for my first day back to work in nearly two solid weeks – we had a half day the Monday before last, and that was the last time I was in my classroom! I imagine I’ll need ALL the caffeine and good vibes to power me through tomorrow! I’m getting ready to send out an email that is LOADED with Google Slides hacks, and I wanted to make sure I shared this idea with you first! I geeked out about it on TikTok last week … seriously, are you on TikTok?! It’s such a flexible and adaptable way to use Google Slides – you’re gonna love it!
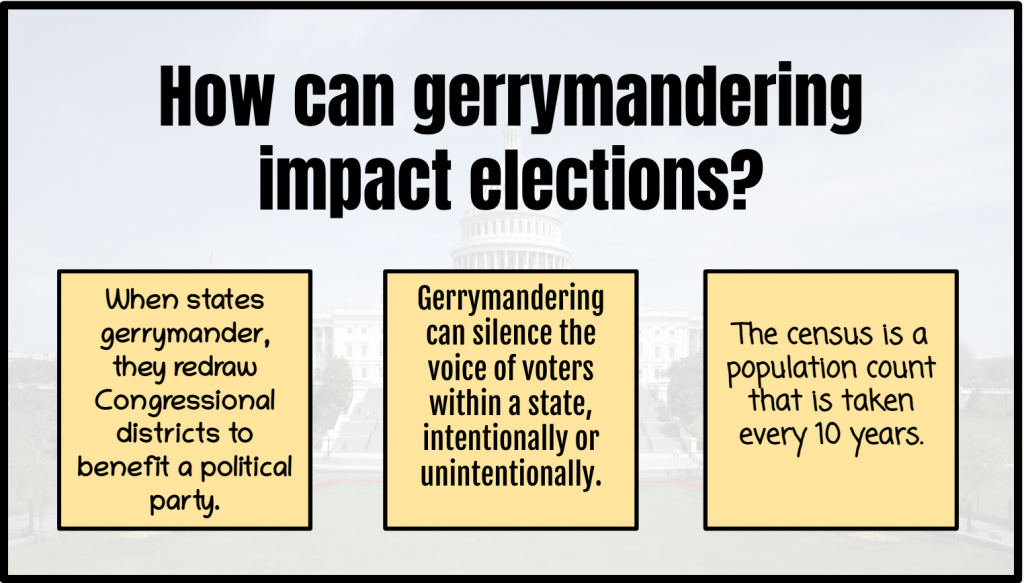
Ok, Bethany. Calm yourself. What in the world are “interactive self-checks?” I’m so glad you asked! I love using frequent self-checks in my classroom, and most of the time, we use Google Forms, the Question feature in Classroom, Kahoot, Quizizz, Quizlet Live, or our station review. All of these are fantastic and give the data I need … I was just brainstorming new ideas to try because, heck, we’re in 3rd quarter, and everyone (this teacher included!) needs something to spice things up! Here’s how it looks:
Looks cool, right? To create your own self-checks for students using Slides, you’re going to use a simple, yet an underappreciated feature of Google Slides –> linking within presentations!
Here’s how it works (from scratch):
Step 1: Open a New Slides Presentation
Super simple step alert! Just open a new tab and type slides.new into the URL bar. BAM!
Step 2: Choose a Background & Create a Title Slide
Just as easy as it sounds, you can either upload an image from your Drive or computer or add an image from the web. Then, you can add text boxes on the title slide or use a premade slide template.
Step 3: Create a Question/Answer Slide
Add a text box for your question, then add 3-4 text boxes for your response options. 
Step 4: Copy/Paste Question/Answer Slide
In this step, you’ll want to copy/paste your question/answer slide 3 times (4 if you have 4 answer options, 5 if you have 5 answer options, etc) in your presentation. To do this, select the slide on the left of the screen, click CTRL C to copy (COMD C on Mac), and then CTRL V to paste (COMD V on Mac).
Step 5: Linking Options in the Presentation
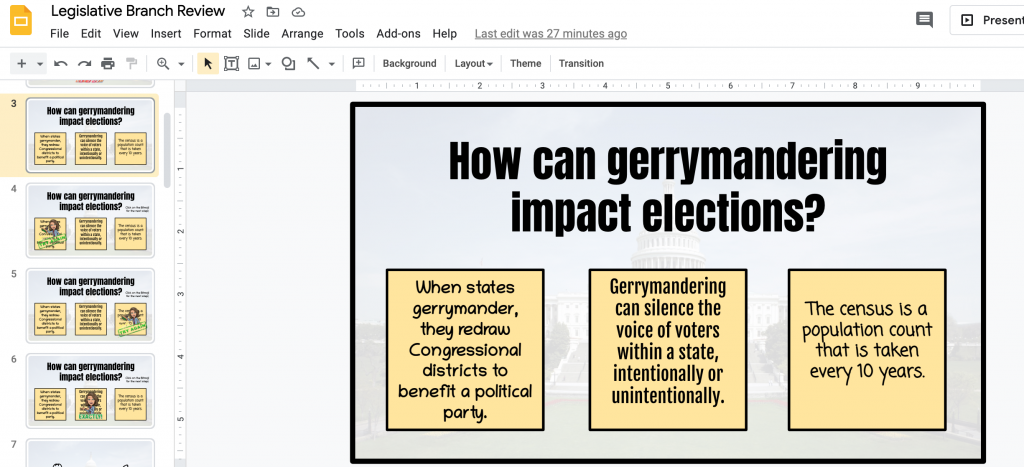
Here’s where the magic happens, friends! In this step, you’ll need to hyperlink each answer box to one of the slides you copied. In my example, I linked the first response option box to Slide 4, the second to Slide 5, and the third to Slide 6.

Step 6: Bitmoji Time!
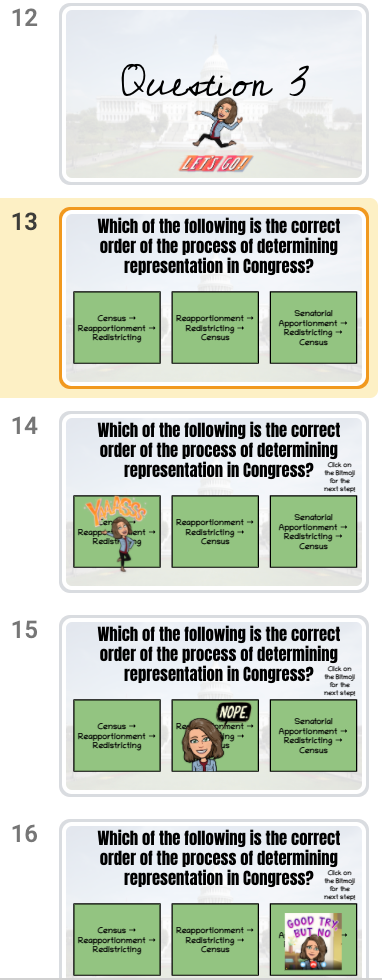
Of course, I’m adding Bitmojis to this activity! Add a Bitmoji on your linked slides for correct and incorrect responses. 
Step 7: Linking Bitmojis
You’re almost done! Next, you’ll want to link your Bitmojis, based on which response students choose. If they chose the incorrect response, link your Bitmoji on that response back to the original question slide. If they chose the correct response, link your Bitmoji on that response to the next question, or a slide that provides instructions on what to do next.
The possibilities with this activity are ENDLESS! Instead of linking incorrect response Bitmojis back to the original question, you could link them to a YouTube video, podcast episode, or article with additional/review information for your students. OR … you could link it to an Edpuzzle lesson! When students have answered all of the questions correctly, you can link the correct response Bitmoji to an extension activity, bonus XP (read Chapter 8 of Illuminate for tips on that!), or a virtual field trip using Nearpod or Google Earth. To up the interactiveness (is that a word?) of this activity, you can embed additional activities for your students to complete right within Google Slides!
If you’d rather check out and make a copy of my activity instead of making your own from scratch, go for it! Click here for a force copy link for FREE! The requirement for using this FREE template is that you simply give credit where credit is due, and keep my information on the slides. That’s it! Also, please don’t attempt to sell this activity on any website 😉
I hope you have a fantastic week!

Thank you so much for sharing this tool! I’m currently in a technology course in college while studying for an education degree and its moving how we can use technology to benefit ourselves and the students. I am blown away with how you can do self check ups in google forms. I will definitely be integrating this into my own classroom one day even if we are back to school its still an amazing tool to use! Thank you for sharing and I love how easy you made it to understand the process!
Thanks, Samantha! Best of luck with school and welcome to the best profession on earth!
When sharing this as an assignment, how do you ensure that it will be in presentation mode for students?
Is this done by publishing to the web? If so, how do you prevent to auto-advance to the next slide?
I only saw a minute delay as the greatest amount of time until it automatically went to the next slide.
Thanks in advance and great idea
Hello!
Thanks for your comment! When I assign this to my students, I assign it as a link that’s published to the web. To prevent the auto-advance options, make sure both of the boxes are unselected in the dialog box before you press publish.
Hope that helps!
Bethany