Happy Monday, all! And happy President’s Day to my American friends! I’m celebrating this fantastic Monday coming to you live from my recliner, in my favorite hoodie/leggings combo, snuggled up in a super soft blanket. Our forecast is predicting 8+ inches of snow today, and another 6(ish) inches of the fluffy white stuff Wednesday into Thursday! Ahhhhhh. Also, I ran my Monday 5k a bit later in the morning today, since I didn’t have to get up for work. This 5k was one of my faste st times (27:22) and was my 11th Monday 5k in a ROW! This is a huge accomplishment for me, as someone who has bad knees, was in an ankle boot this time last year because of crummy ankles, has asthma, and is prone to shin splints. Oh, and I’m a 35-year-old mother of two. YAY! Before I turn in for my afternoon nap (yup, it’s happening!) I wanted to share a quick tip for creating and pinning images to Google Slides which is SUPER HELPFUL if you use Slides to create interactive notes/activities. It’s super easy!
STEP 1
Open a new Google Slides presentation – TIME-SAVING TIP – just open a new tab and type slides.new into the search bar and, voila! A brand-spanking-new Google Slides presentation is ready to go!
STEP 2
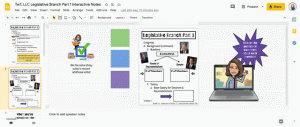
Create your interactive assignment/notes/activity as you normally would for your students. Click on the GIF below for instructions!
STEP 3
Add a new slide to the presentation. I always choose a blank slide, but whatever floats your boat!
STEP 4
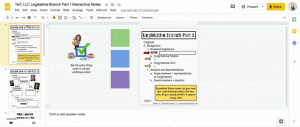
Add your newly created image as the background of your new slide!
STEP 5
Either add textboxes or tell your students to add them where they are needed. You can also add images to hyperlink, or take advantage of the space outside of the slide for additional instructions/activities.
That’s it! Easy peasy, right?
Creating images from the slides you’ve created and adding them as a background is SO MUCH easier for our students because they don’t have to worry about moving a textbox or image when they’re adding their work. Much less “CTRL Z” to undo the mess!


Leave a Reply