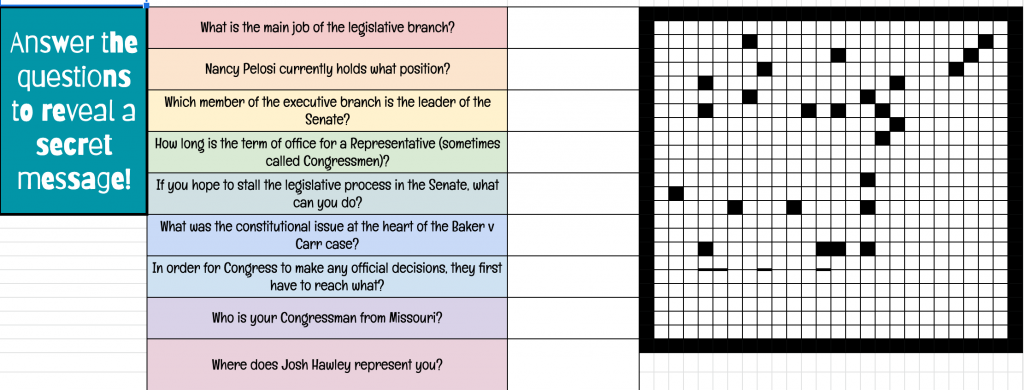
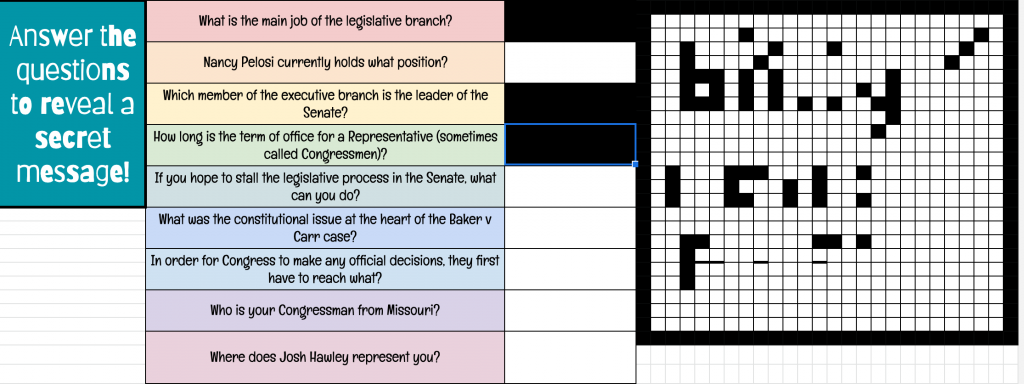
Happy Saturday, all! I’m totally celebrating the end of this week because not only was it our first full week of school in two weeks (thankful for snow/ice days!), but it was also my duty week! Yes, morning, lunch, and after school duty greeted me way too early Monday morning. I’m happy to say that, with the help of my daily Bible time, excessive amounts of coffee, at least one scoop of my pre-workout drink, and at least 2.5 miles on my treadmill a day, I did it! A few nights ago, as I was brainstorming review activities for my students, I dug around in a Facebook group I’m in, “Pixel Art Mysteries in Education,” thinking how in the world I could make activities like this relevant and meaningful for my high school Social Studies classroom. My initial thought was, “wow, this is cool!” but, I don’t really think it would work for my students. However, after playing around with the idea, tweaking my spreadsheet NUMEROUS times, and much trial and error, I figured it out! And my students loved it! Here’s what I did:![]()
STEP 1: Create a Google Sheet
Don’t forget! Just type sheets.new in the browser bar for a brand new Google Sheet without going into your Drive!
STEP 2: Resize your cells
Honestly, this step probably took the longest in the process of creating this review for my students. When I select the cells to shrink, I start in Column D. Why? I like to have some space on the side of the Sheet for instructions and, of course, the questions and answers. Grab Column D – Column Z … you can easily create more if needed! To resize your cells, either grab the rows then right-click and select “resize” (and do the same thing with the columns), or resize one column, then copy/paste the column to make more (and then do the same thing with the rows). Either way works!
STEP 3: Merge question/answer cells
You’ll notice that when you resize the rows for your pixel art/message section, the cells where you’ll place the questions and answers are SUPER tiny. If you try to resize the cells, your entire row height will change. ANNOYING. To avoid this, simply merge cells to create a larger space for your questions and answers! Then, you’ll copy/paste the merged cells to create more question and answer spaces. *I also like to put borders around my questions and answers – not required, just my personal preference! To do this, simply select the merged cells and click the border column. Then, choose the option to border the entire cell, and choose the line thickness. Voila!*
STEP 4: Create questions and answers
Here’s where the review part of the activity comes into play! Enter questions and answers for any topic you’re teaching. Reviewing Constitutional Amendments? Enter the amendment description in the question box and the amendment number in the answer box, or vice versa! Reviewing WWI? Enter important events, details, or concepts in the question box and the answer (duh) in the answer box. Super simple!
STEP 5: Draw your secret message
I was talking with a few colleagues yesterday about this activity and they asked me how long it takes to create. I said honestly, creating the message takes the longest, because it can be quite tedious, depending on what you’re trying to share! The first activity I made was for a review for my American History students who were studying the progressive era. The secret message I wanted to share was a question/clue that my students would answer on a Question in Google Classroom. It was really challenging to create!
The second activity I made was much quicker because I knew what I was doing, but also because I created the message in one color. The choice of color is up to you!
NOTE: You can create a secret message or an image for your students to uncover. I chose the message option because I wanted to make sure the activity was relevant for my students. Sometimes, we get distracted by cool and shiny things but forget to think about how it’s helping our students. A picture would be super cool for my students to uncover, but high school juniors and seniors would get more out of a secret message, a clue, or A SHORTENED LINK TO A WEBSITE or Google Form, which is what we did 🙂
STEP 6: Conditional formatting!
If you’ve read Illuminate (thanks!) you know two things about me. First, spreadsheets have always terrified me – not sure why, maybe because it’s too numbery for me – and, that I LOVE conditional formatting! It makes me happy! I geeked out about how I use conditional formatting to create color-coded formative assessment results here. Check out the video below for a quick “how-to.”
STEP 7: Try it out!
Make sure that your formulas work!
STEP 8: Assign it to your students!
Create an assignment on Google Classroom and add your Sheet. Be sure to select “make a copy for each student” before you share it!
That’s it! My students (juniors and seniors) LOVED this activity! They asked for more – WHAAAT??!
How do you use pixel art in your classroom?


Hi Bethany,
I recently came across your blog about this pixel art review and also follow a group via Facebook called “Pixel Art Mysteries in Education”. I love how you explained the different formatting. I have used a few of them as well in my class and my students LOVED it!
Thanks for sharing this! Super helpful too!
Melissa
I am so glad you shared this information. It is very helpful for me.