SCHOOL IS IN SESSION! I’m frantically trying to adjust to the sound of the morning alarm clock and making myself look presentable before 9:00 in the morning 🙂 Last week, I had a great conversation with the wonderful people at TES Teach about the new iOS app for TES Teach Blendspace. If you’re a fan of iPads and Blendspace, this post will be like opening a fantastic gift on Christmas morning! If you’re unfamiliar with Blendspace, check out this post for a brief overview!
Blendspace is a wonderful tool that teachers can use to collect and share resources with their students for virtually any type of assignment or activity. Teachers can easily create boards that include documents, websites, videos to be used for reviews, projects, flipped lessons, and even PD sessions. The possibilities are endless!
The new TES Teach Blendspace iPad app follows the same great structure as the website. Don’t you hate when an app is totally different than the website? It’s frustrating and requires a bit of a learning curve to be able to use the tools seamlessly. Not the case with the Blendspace app!
Without further adieu … let’s get to the app!
The TES Teach Blendspace iPad app is FREE, just like the amazing Blendspace 🙂
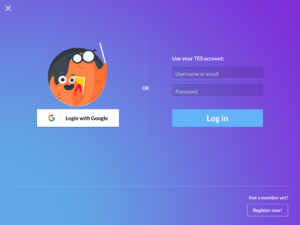
Access your TES Teach Blendspace account through your Google account, or through username and password credentials.
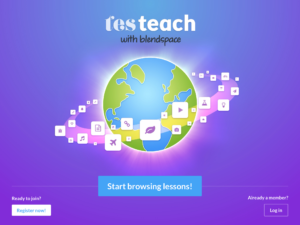
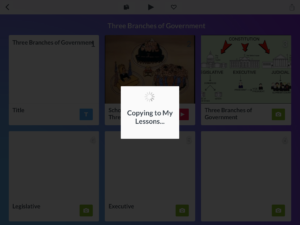
From the next screen, teachers can search from a variety of lessons created and shared by teachers. If you haven’t done so using the website, definitely search the library of resources while using the Blendspace app. To use a lesson, simply copy it to your account where you can easily edit and add resources. Super simple!
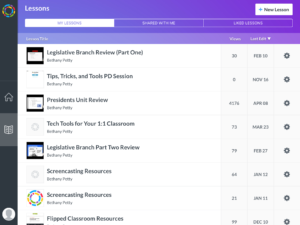
To access your lessons through the Blendspace app, simply select the open book icon on the left of the screen. Your previously created lessons will be visible, as well as the number of views and last edit made to the lesson. Select the settings wheel to copy, share, or delete this lesson.
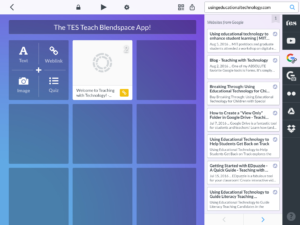
To create a new lesson using the Blendspace app, simply select “+New Lesson.” Here, you’ll be able to add resources from the web, Dropbox, Google Drive, YouTube, and from your computer. Teachers can also search resources added to the TES Teach library to include in their lessons. The “drag and drop” feature for adding resources is still available on the Blendspace app … which is one of my favorite aspects of Blendspace! It’s just so easy to add resources! Easily set privacy and commenting restrictions from the lesson creation page, as well. Teachers can share the lesson with their students via link, email, social media, or Google Classroom, and can also display a QR Code from their iPad that links students to the lesson. I LOVE QR CODES and am just a tad excited that the Blendspace app has this functionality 🙂
My absolute favorite way to use Blendspace in my classroom is for unit reviews. In my classroom, my students have various instructional videos, review games, images, and other resources to utilize for test reviews. At the end of each unit, I create a Blendspace board that includes all of these resources for my students, print the QR Code for the board, and tape it to my classroom door. My students can easily access all of their unit materials by scanning the code with their smartphone. It’s fantastic!
Definitely check out the Blendspace iPad app!
How do you use Blendspace in your classroom?
**Thanks to TES Teach Blendspace for sponsoring this post! Please know that Blendspace is an amazing resource, and I would promote it even without sponsorship!**

Leave a Reply