I’m sure you’ve heard of the new tool that’s taking the world of educational technology by storm: Fl ipgrid! If you haven’t, holy awesomeness, prepare yourself now.
I first learned about Flipgrid earlier this year when they were announced as EdTechDigest’s 2017 Winner in the product or service category. (By the way, I was included as a finalist in the School Leader category! Whaat?!) I immediately put Flipgrid on my list of things to try with my summer school dual credit classes. My summer school classes often become my trial classes for new tools I stumble upon!
Today, we were FINALLY able to use this amazing tool. If you’ve never used this fabulous tool before, check out this quick guide to getting started:
- Access Flipgrid and create an account
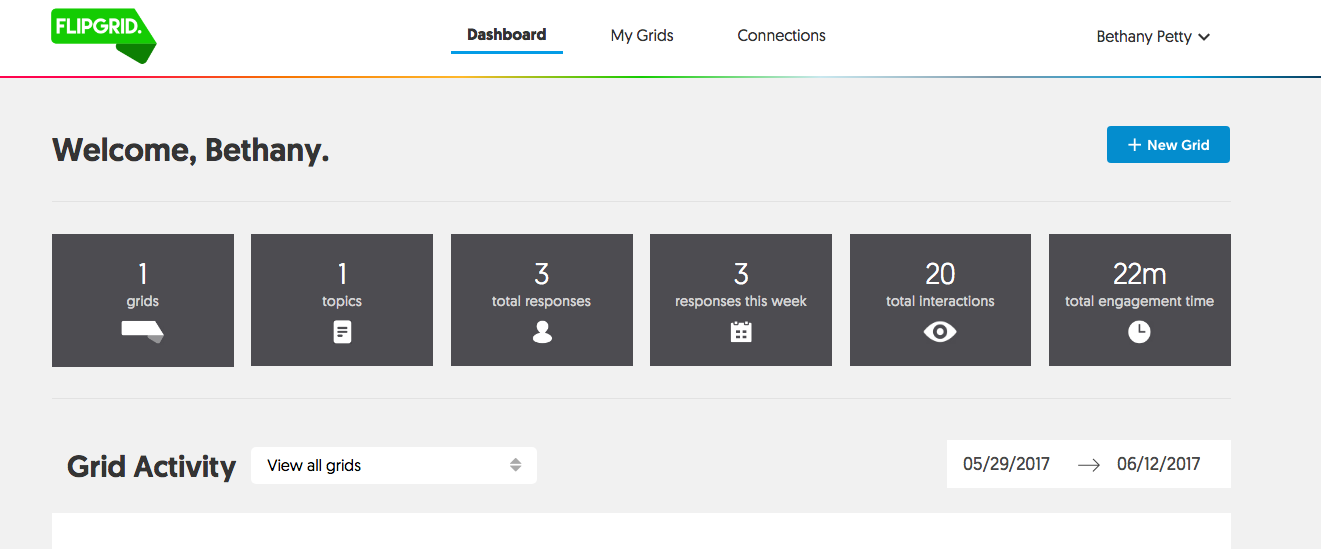
- Select “+New Grid” (If you’re using the free version of Flipgrid, you’ll be limited to 1 grid. However, if you update to the classroom version of Flipgrid, you’ll be able to create tons of grids!)
- Name your grid and fill out the other information … you can customize the last section of the URL to fit the needs of your grid!
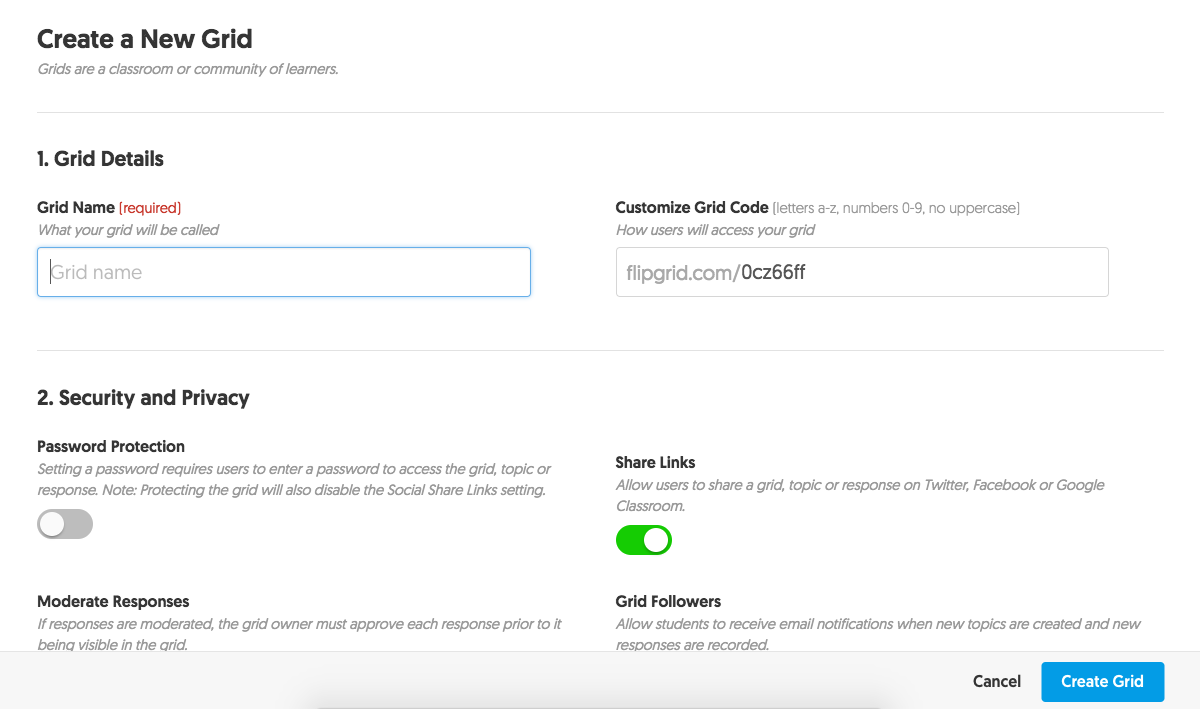
- Click “create grid”
- Teachers can share grids with students via URL, by embedding it in a website, by creating a QR Code, sharing through Facebook or Twitter, and even adding to Google Classroom!!
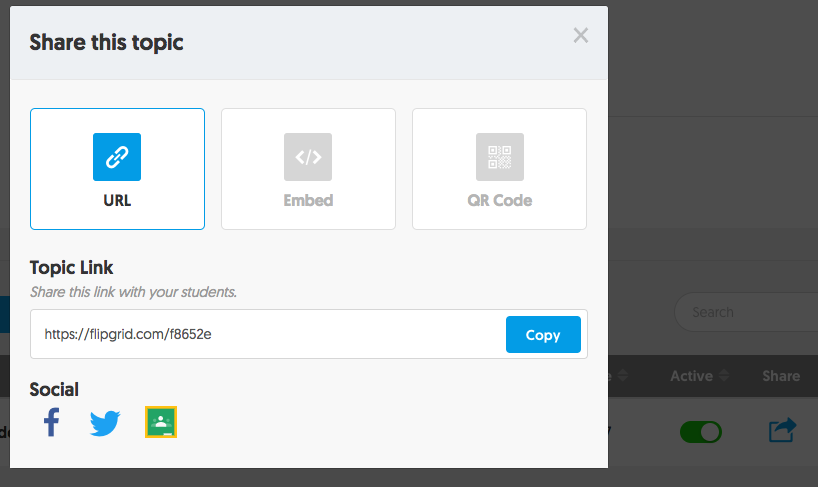
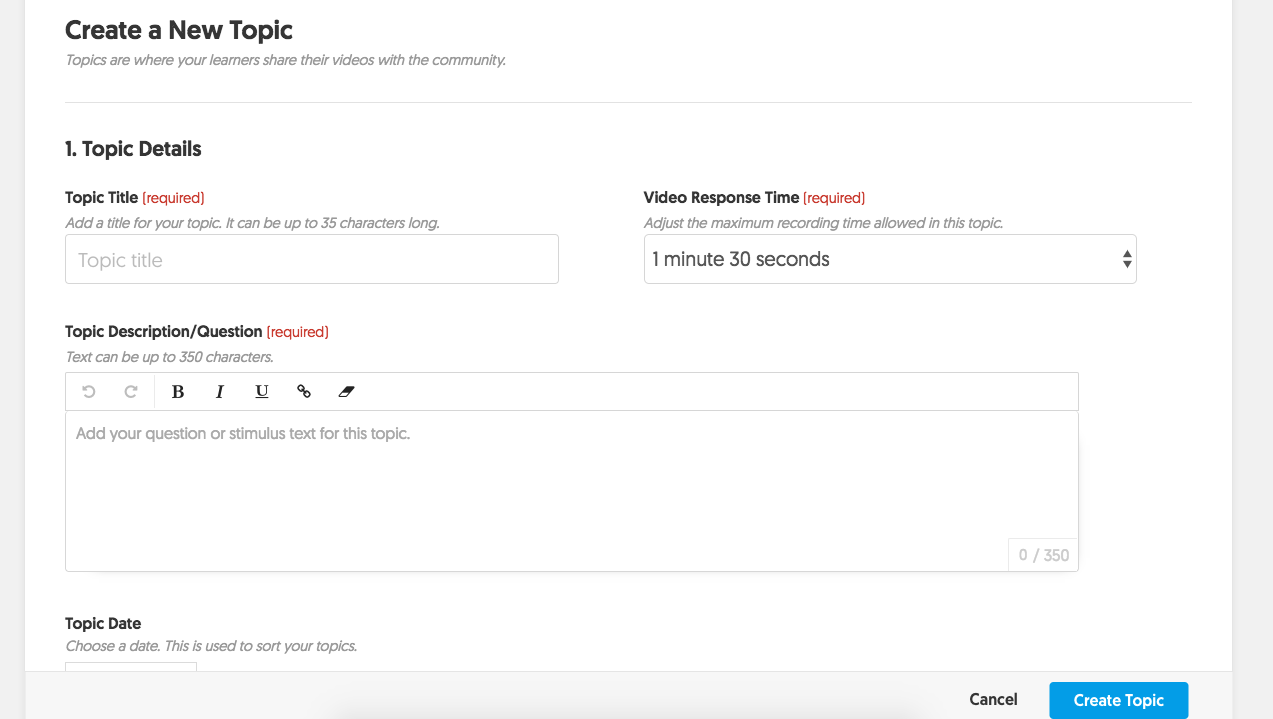
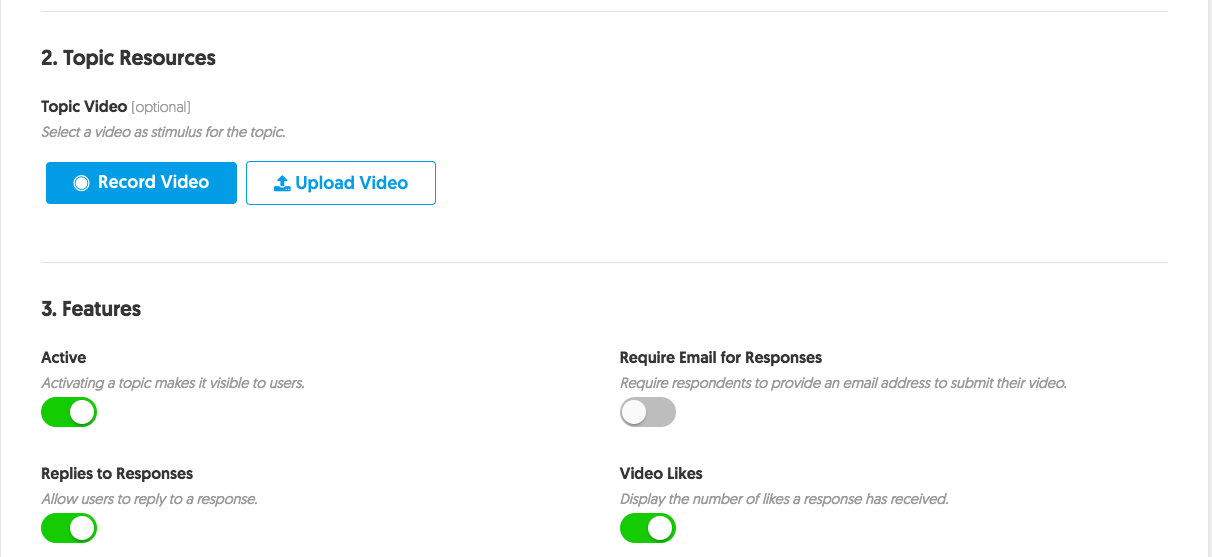
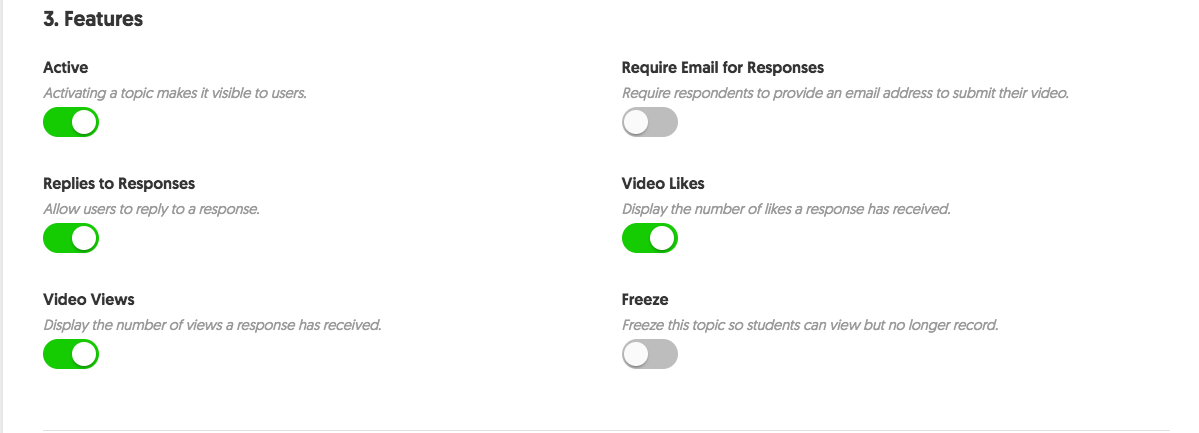
- Next, you’ll create a new topic, add a question, set a maximum video time, and can set other parameters for your assignment. Teachers can also upload a video with instructions for their students! Like with the grid itself, teachers can share specific topics with students via Classroom – you can create an assignment by sharing the grid! Woohoo!!
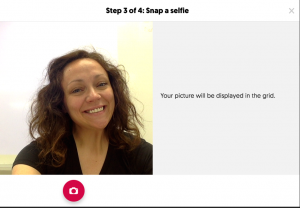
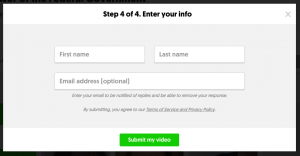
When students are ready to create their video, they simply access the link shared by the teacher, and click the record button! Next, your students will be asked to review their video, snap a picture for the grid, and enter their name (and email if you require it) to be visible on the grid. Teachers can provide students with feedback through Flipgrid and can send comments via email!
The possibilities are seemingly endless when it comes to using Flipgrid in the classroom! Teachers can use Flipgrid as …
- formative assessment –> Use Flipgrid as an exit/entrance ticket!
- pre-assessment –> Assess prior knowledge!
- student introductions –> For class AND for global collaborations projects!
- passion project proposals –> I’m SO doing this next year!
- book/chapter reviews and discussions –> My students read Narrative of the Life of Frederick Douglass, Thirteen Days, Lord of the Flies, and Animal Farm throughout the year (in different classes!) … I plan to use Flipgrid to supplement discussion boards and other activities we complete throughout these books!
- HyperDoc reflections –> This will be an AWESOME addition to my growing collection of HyperDocs!
- Digital BreakoutEDU –> Flipgrid videos can be used in breakouts!
- Student review –> Students can create a list of topics they feel they need to review for a test and can then create recordings that describe a particular concept or topic!
- Bonus missions! –> Teachers can encourage students to create raps, songs, poems, etc., that relate to a course concept!
…and so much more! Flipgrid is one of those tools that I’ll add to my favorite edtech tools list!
Teachers can also create global collaboration projects with Flipgrid by selecting “connections,” choosing a grid to share, and then adding a specific goal for the project. Teachers can choose to remove connections at any time … just think of the possibilities!
By the way, have you joined my global collaboration database?!
I’m so excited to explore and use Flipgrid more in my classes! How do you use this fantastic tool in your classroom?

Hi Bethaney
This does seem like an awesome tool. My question is can it be used to assess speeches as one would imagine that talking to a crowd takes so much more skill than talking to a camera.
So I am really questioning the validity and reliability of such a presentation for marks.
I love the concept, but I find myself at an ethical crossroads.