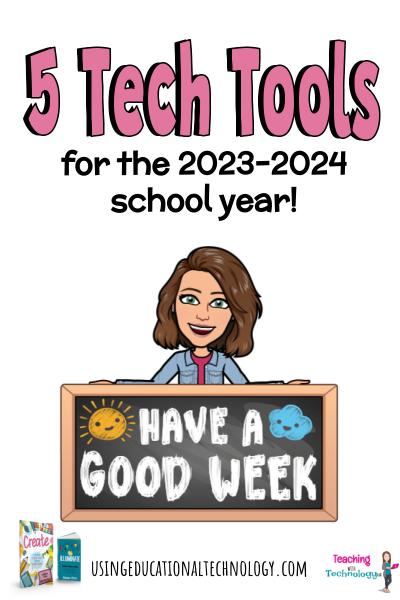
Hey, friends! Happy October! It's been quite some time since my last post, but as you can probably imagine, I'VE BEEN BUSY! I'm coaching two volleyball teams (my 5th-grade daughter and my 7th-grade daughter), taxiing them to their numerous after-school activities, drinking all the coffee, running all the miles, and ... did I mention that my husband started a new career?! All of that coupled with ... Read More about Top 5 Tech Tools for the Classroom 23-24
Guest Post Guidelines

5 AI Tools To Try
Happy ...JULY?! Is that right? Is the summer really flying by that quickly?! ? As it normally does, our summer vacation is racing toward the finish line, but I'm finding myself more energized and rejuvenated for the new school year than I was at this time last summer. Thank GOODNESS! I really think the combination of true rest and relaxation (I've taken a nap ALMOST every afternoon this summer, ... Read More about 5 AI Tools To Try
6 Fun and Effective Review Activities
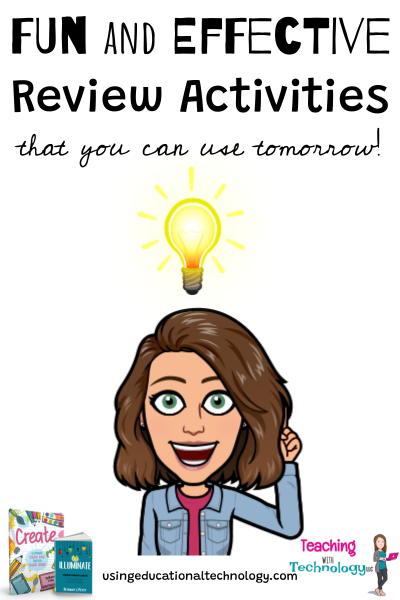
Happy May, all! My students and I have less than TEN DAYS left in our school year. It seems like this school year has gone by SO quickly, but at the same time, I am SO ready for summer break! We only had four snow days this year (we don't have to make these up in my district!) so our second semester seemed a bit longer than most years - I was at a conference for two of those days, so I'm saying I ... Read More about 6 Fun and Effective Review Activities

AI for GOOD!
Happy Sunday, all! I'm coming to you this evening after a FULL weekend of volleyball! My oldest daughter and her club volleyball team won their tournament yesterday and took second in their tournament today, and I have a serious case of bleacher-butt ???? No matter how sore my backside is, I love this season of life and watching my kids do what they love! Is it me, or does it seem like everyone is ... Read More about AI for GOOD!

5 Digital Exit Tickets for Any Class
Happy Tuesday, all! Weird opinion - I like Mondays. ? Weird, right? I feel like I'm functioning at a pretty high level on Mondays ... I'm not sure if it's a "new week, new me" mentality or that I'm coming off of a weekend, but I feel super motivated! It's definitely not from more rest over the weekend because I'm busy shuttling my kids to various sporting events ? I hope that my Monday motivation ... Read More about 5 Digital Exit Tickets for Any Class