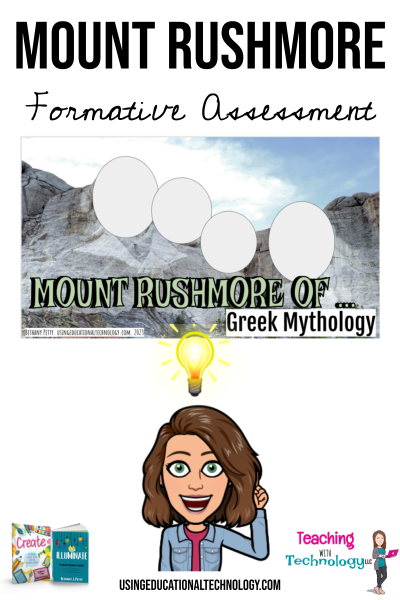
Happy Thursday, friends! I'm writing to you today from the comfort of my recliner, wearing my comfy clothes, and almost ready to settle in for a nice afternoon nap :) Nope, I'm not sick and I'm not home with a sick kiddo ... it's a SNOW DAY! Yes! FINALLY, we had snow during the week and enough to cancel school for two days, as of this writing (fingers crossed we call it a week and stay home ... Read More about What’s on YOUR Mount Rushmore?
Legal Information
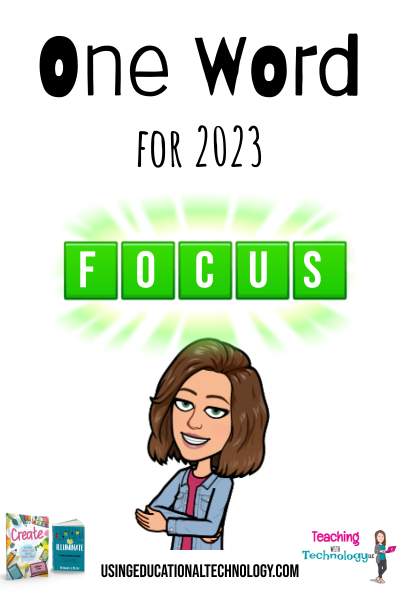
One Word 2023
Hello, all! Happy Wednesday! While I've had a fantastic winter break, I definitely grumbled last night as I set my alarm for 4:50 AM! Breaks never seem to be long enough and I never seem to accomplish everything I plan to. Please tell me you feel my pain! However, with enough FOCUS, I know I can tackle the year ahead. It's time to share my One Word for 2023! Let's FOCUS! Ok, so maybe I let ... Read More about One Word 2023
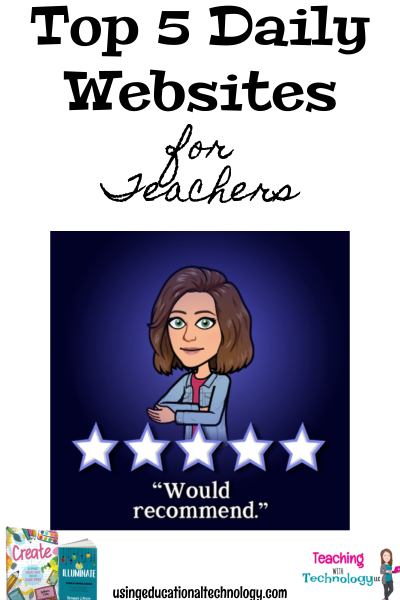
5 Top Daily Websites for Teachers
Happy Saturday, all! I'm coming to you today from the comfort of my car while waiting for my oldest daughter's soccer game to start. That's how my weekends are spent in this season of life ... soccer, volleyball, basketball games and practice, with my oldest, and ballet, tap, jazz, cheer, and Nutcracker rehearsal with my youngest! When they're grown, I have a feeling my husband and I will sit ... Read More about 5 Top Daily Websites for Teachers
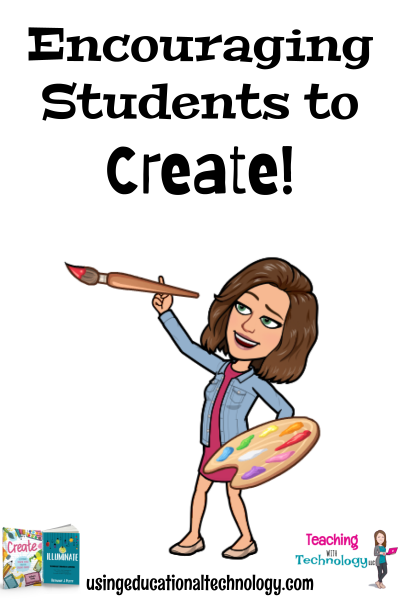
Offering Choices to Create: What Have You Learned?
Happy Sunday, friends! I hope you've had a relaxing weekend and are ready to tackle the week ahead. For the first time in what seems like months, we didn't leave town for a soccer or volleyball game, which meant we had time at HOME! Needless to say, I feel much more rested at the end of this weekend than I have in quite some time! One of my favorite features of my flipped classroom is that my ... Read More about Offering Choices to Create: What Have You Learned?
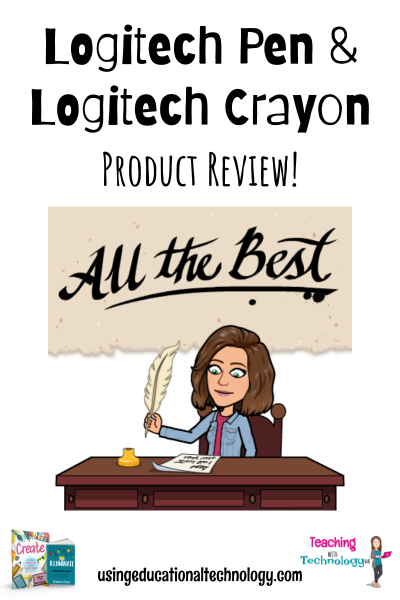
Product Review: Logitech Pen and Logitech Crayon
This is a sponsored post. You know I don’t share anything with you unless I love it! Hello, friends! I’m sharing two fantastic technology resources with you today that you can use with your students that can help everyone get more out of their devices: my friends at Logitech sent me the Logitech Crayon and Logitech Pen. Get excited … these things are amazing! First up on the review list is ... Read More about Product Review: Logitech Pen and Logitech Crayon